The amount of light is called exposure. A photosensitive material is exposed when enough light reaches it to produce a picture. It is best to understand what light is and how to manage it if exposure is to be used properly. For clarity, exposure can be divided into two categories.
Camera exposure
Photographic exposure
The amount of light that hits the scene before it enters the camera and creates an image is known as camera exposure. The amount of light that appears in an image when it is digitally converted into a photograph is known as the photographic exposure.
Camera exposure
Camera exposure is the amount of light reaching the camera’s sensor or film. That is, it determines how dark and bright a scene is.
The image’s exposure varies depending on how much light is let onto the sensor or how the light is managed. An image’s exposure may make or break it. An exposure is composed of three major components. The exposure triangle consists of aperture, shutter speed, and ISO.

A good image is obtained when the exposure triangle is balanced. Photography – Abin Alex | Camera: Canon EOS 5D Mark IV, Focal Length: 400mm, Aperture: f/5.6, Shutter Speed: 1/2500 sec., ISO: 800
The shutter speed of a camera determines how long light is permitted to hit the sensor. The lens aperture, often known as the f-stop, governs how much light can pass through the lens. First, ISO regulates the light sensitivity of the recording medium, or digital sensor.


The seat
They are just as crucial as the seat’s front legs. If one is altered, the other two are influenced. Each is equally vital, yet each has a different impact on exposure. Chapatis created on a chapati stone will not all look the same, nor will they all taste the same. Similarly, my mother’s chapati is distinctive. It’s not about abandoning photography. Have you ever witnessed chapatis being baked and compared it to the exposure triangle?

Consider the intensity of the stove flame as the shutter speed and the metal piece at the end of the gas pipe as the aperture. Consider chapatikal as a sensor as well. The difference in flame speed might alter the taste of the chapati itself. When the flame is switched on too soon, it can burn. That is, granules emerge in images. The strength of the flame, the temperature differential in the oven, and the mixing of the chapati all have an impact on the flavor of a chapati. Similarly, if aperture, shutter speed, and ISO are not used correctly, they might destroy the image. There would be a change in taste if two persons bake the chapati that was blended by one person. So, will two persons interpret the same visual perception differently?
Consider the intensity of the stove flame as the shutter speed and the metal piece at the end of the gas pipe as the aperture. Consider chapatikal as a sensor as well.
The difference in flame speed might alter the taste of the chapati itself. When the flame is switched on too soon, it can burn. That is, granules emerge in images. The strength of the flame, the temperature of the oven, and the mixing of the chapati all have an impact on the flavor of a chapati. Similarly, if aperture, shutter speed, and ISO are not used appropriately, they might destroy the image. There will be a taste difference if chapati is mixed by one person and baked by two individuals. So, will two persons have different reactions to the same visual impression?
A nice image is not the result of the camera alone; it is the consequence of the photographer’s decision, skill, and style. A good picture requires many components, just as good cuisine requires many factors.
Photography exposure
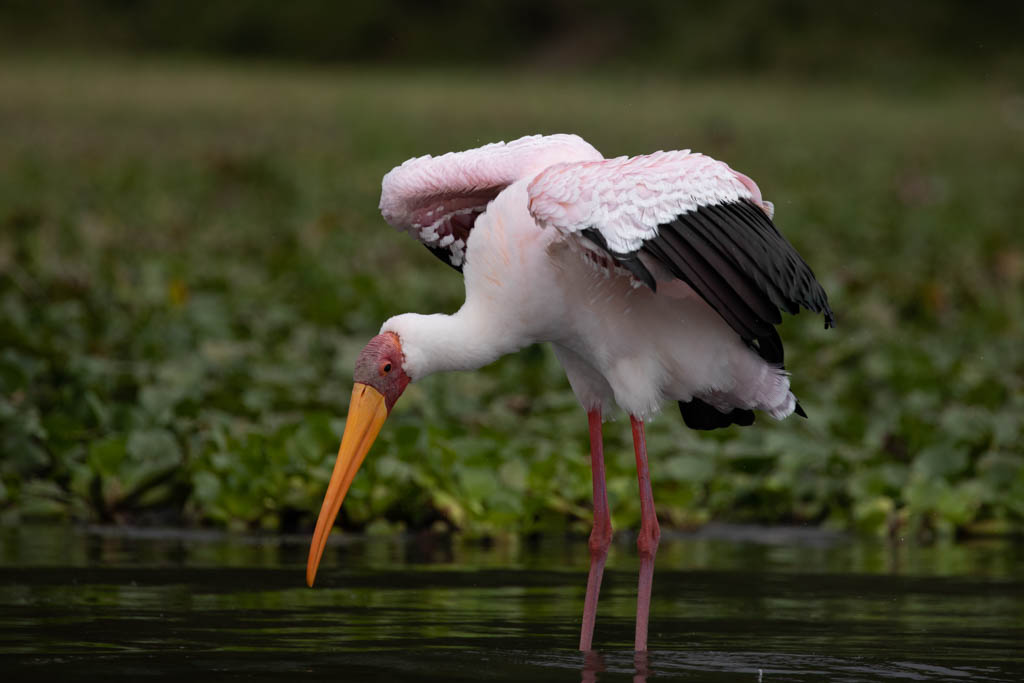
Often contrasting subject and background provide excellent framing. Photography – Abin Alex | Camera: Canon EOS 5D Mark IV, Focal Length: 400mm, Aperture: f/5.6, Shutter Speed: 1/1000 sec., ISO: 400
The amount of light in a photograph is referred to as its exposure. During the editing process, the photographic exposure of an image can be modified. Photography exposure is an important aspect of photography. It refers to the light that appears in an image. It’s similar to thinking after an exam that if I had written a bit better, I would have gotten an A+. Even minor exposure issues can completely spoil an image if not addressed. There is no point in pondering after you have taken the photograph.
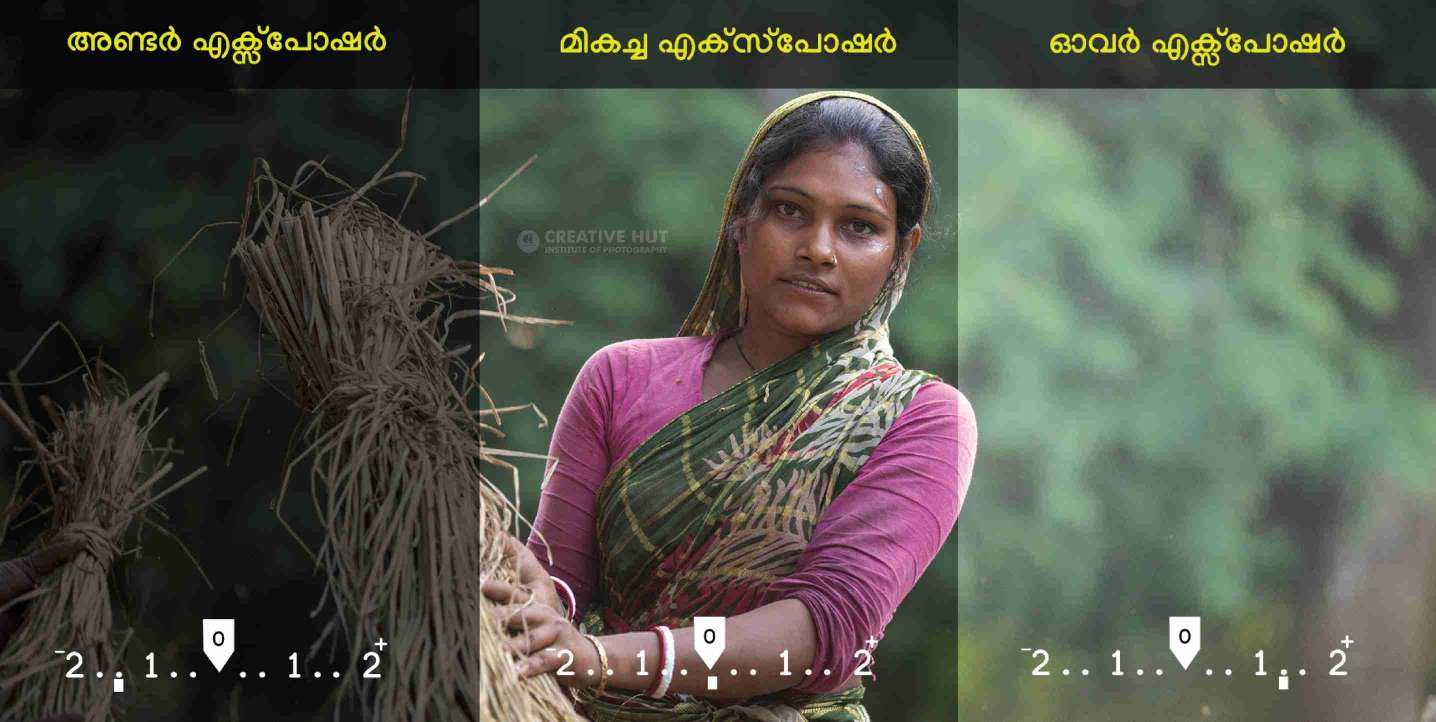
Exposures can be classified as either camera exposure or photographic exposure
- * Under Exposure
*Over exposure
*Perfect Exposure

Underexposure
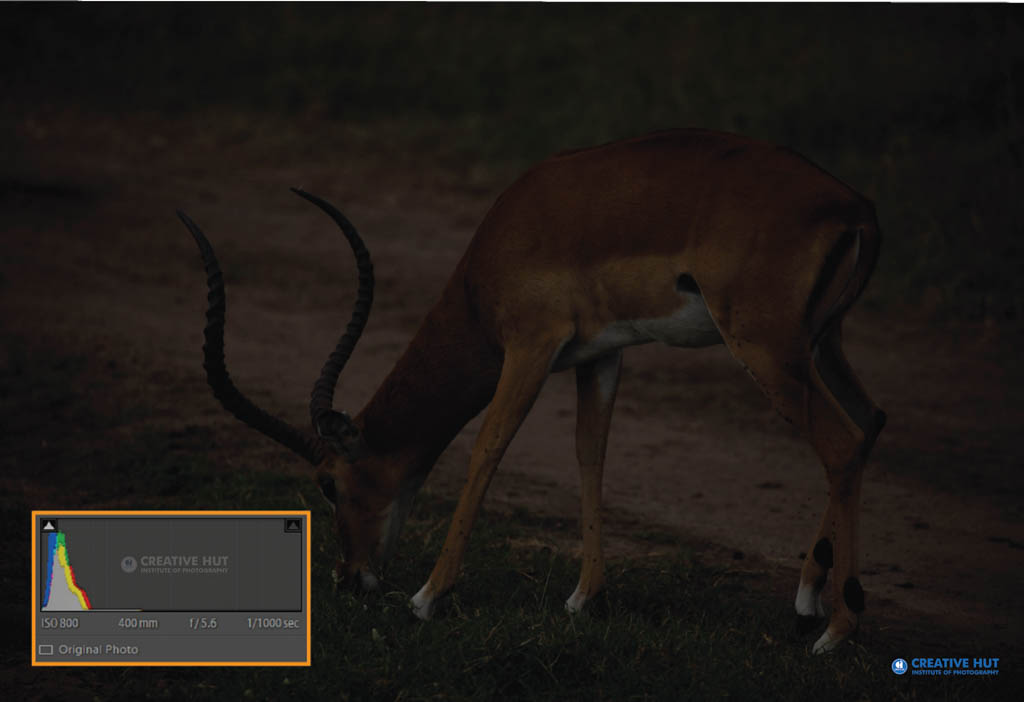
When a scene is photographed, underexposure occurs when the image has poor brightness or is fuzzy. The camera operation must be adjusted to tackle the problem of low light in an image.
A dull scene can typically be brightened by employing an external light source or a flash. Another solution for underexposure is to properly set the shutter speed, aperture, and ISO on the camera.
Over exposure
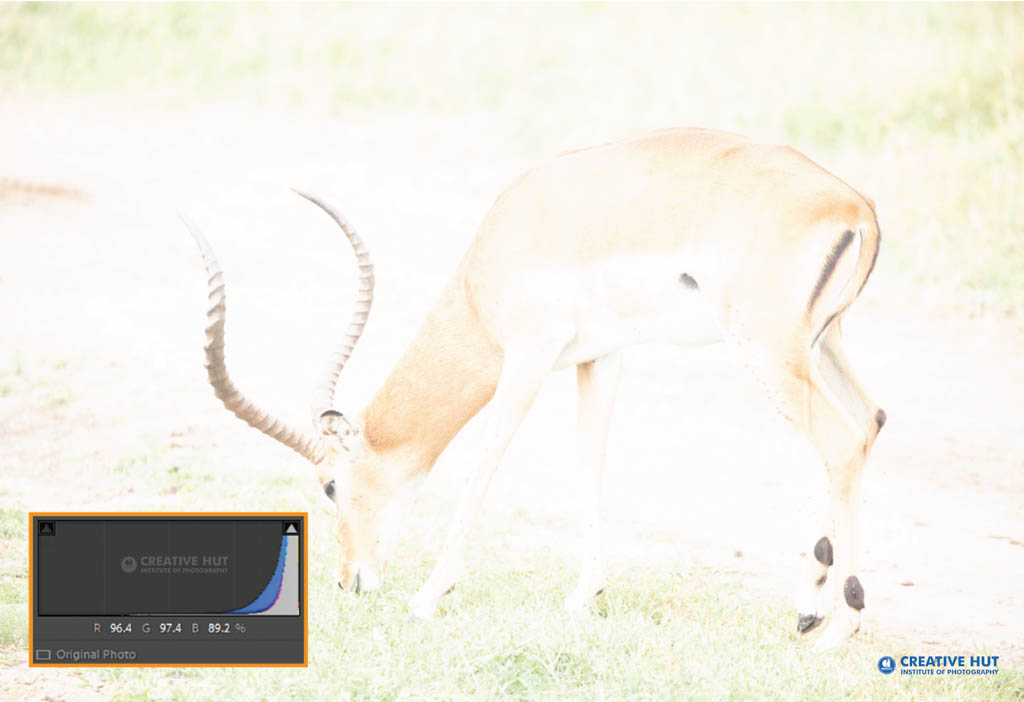
When too much light is recorded, the image becomes too bright or lacks detail. Overexposure is the term used to describe such photographs. Blown out highlights are bright patches where no detail is captured owing to overexposure.
Due to the harshness of the excessive light, such an image is difficult to view, but it may be adjusted to some extent with editing software. Before snapping the photograph, move the subject to a dimly lit area. Alternatively, decreasing the brightness of the source to that of the scene, or deleting the source, will substantially assist in resolving this issue.
Better exposure
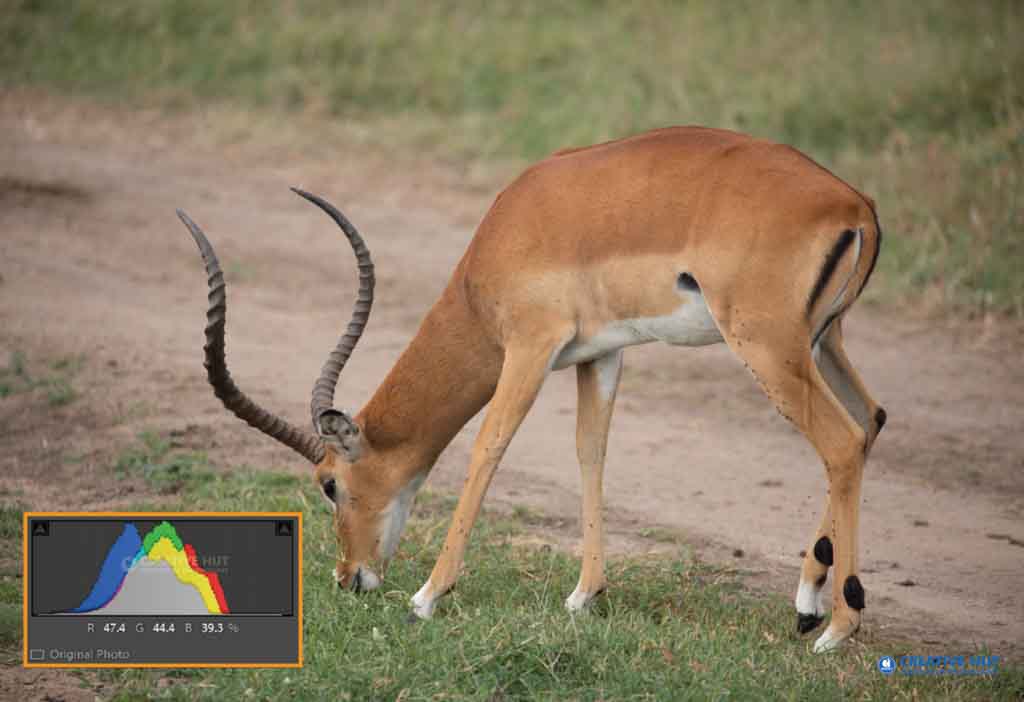
A perfect exposure happens when the combination of aperture, shutter speed, and ISO settings results in the perfect image. A perfect exposure is an image that provides the appropriate brightness and details, i.e. in the image’s dark and bright sections.
Exposure compensation
Before collecting photographs, exposure compensation allows photographers to adjust the correct exposure in-camera by modifying the exposure settings selected by the camera’s light meter, either darker or brighter.
Camera meters operate in mid-gray, which corresponds to the 18% grey standard. Not everything in the world is a color or a value of exposure. The exposure metering starting point is 18 percent grey, middle grey. In terms of exposure value, it represents the average scenario. The metering chapter describes other elements that lower 18% grey.

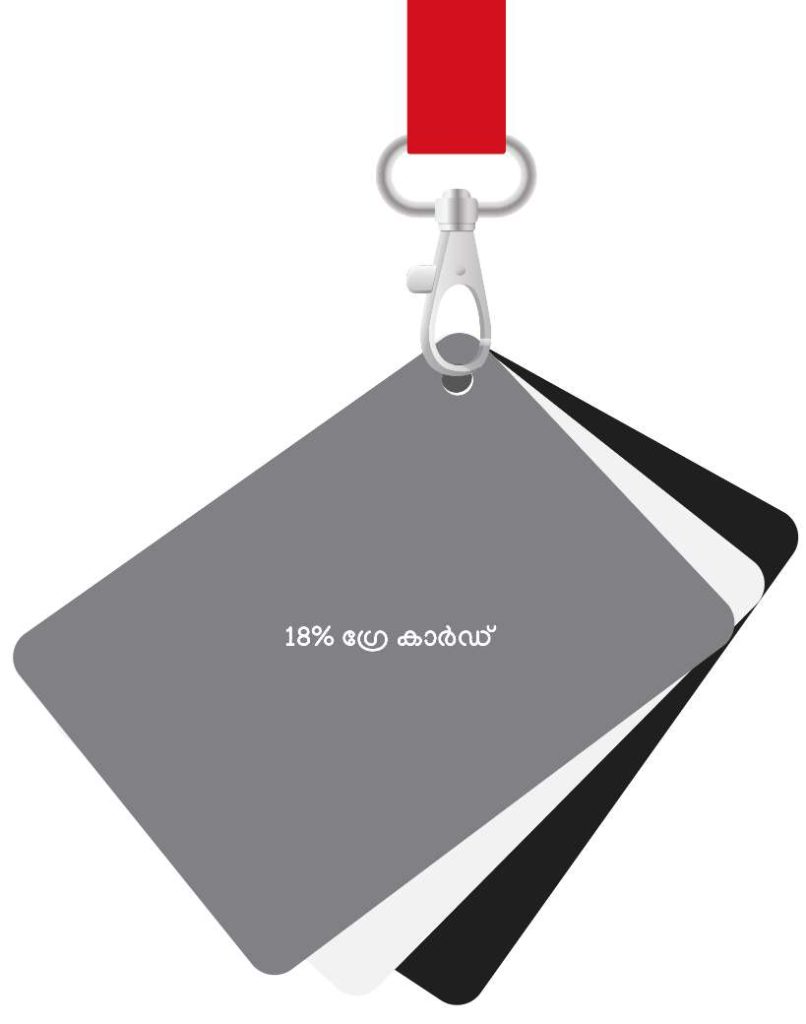
Camera meters function by analyzing subjects that reflect light. When the camera is pointed in a direction that is too dark or too bright, the exposure meter will do the reverse. The exposure meter will attempt to brighten a dark area and darken an overly brilliant subject. That is, in auto modes, the camera tries to come as close to middle grey (18% grey) as feasible. To use exposure compensation, the camera must be set to one of the meter-using modes, such as aperture priority, shutter priority, programmed mode, or any other “scene” mode that makes automatic exposure adjustments.
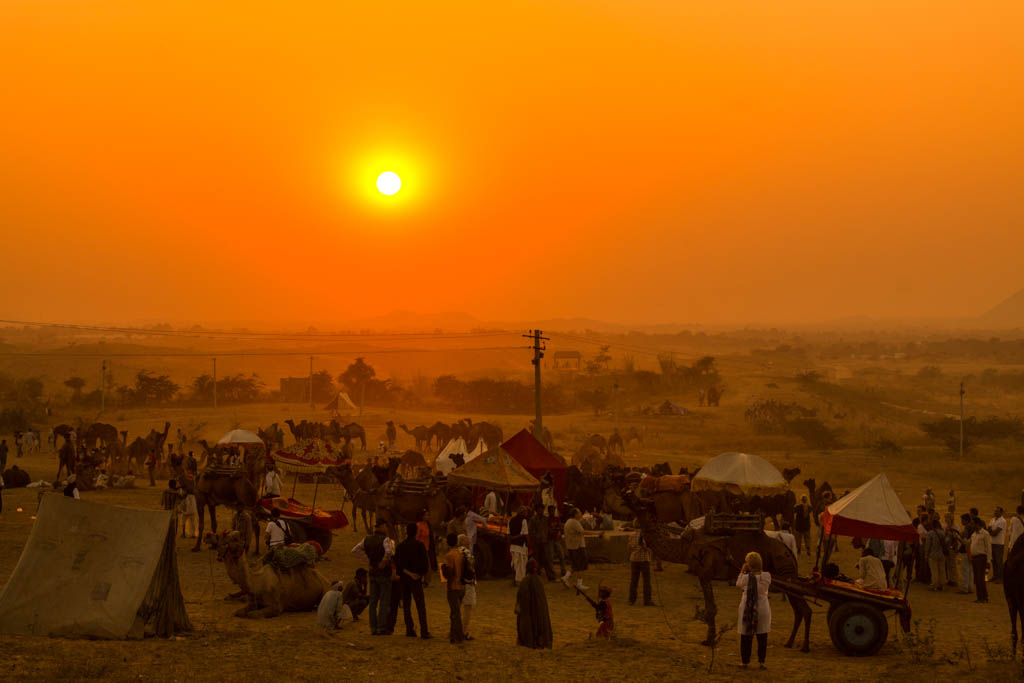

When we choose f-stop and set the meter shutter speed in aperture priority mode, exposure compensation merely alters the shutter speed. Slow shutter speeds must therefore be used with caution.
We choose the shutter speed, adjust the camera meter f-stops, and modify the exposure compensation aperture in shutter priority mode, but we must pay attention to how the aperture changes influence the depth of field.
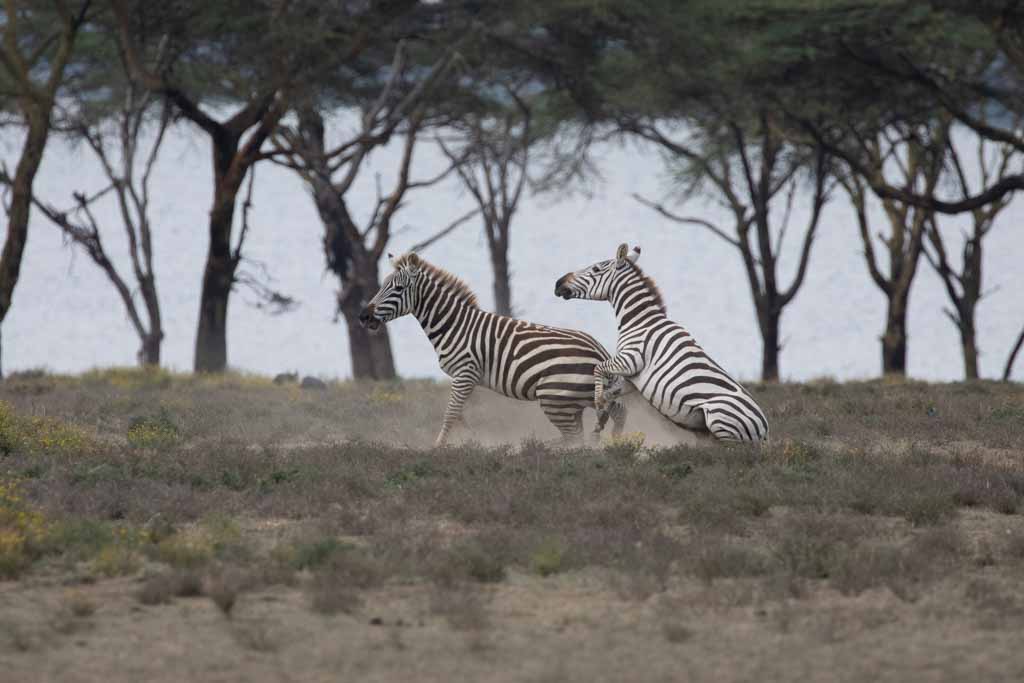
Copying popular subjects is a big challenge. Photography – Abin Alex | Camera: Canon EOS 5D Mark IV, Focal Length: 400mm, Aperture: f/5.6, Shutter Speed: 1/640 sec., ISO: 800
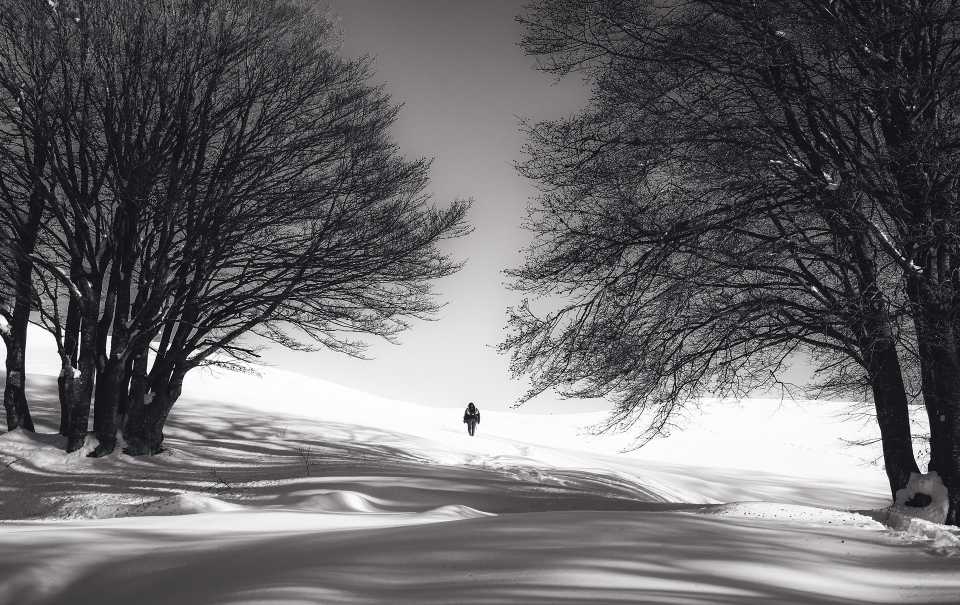
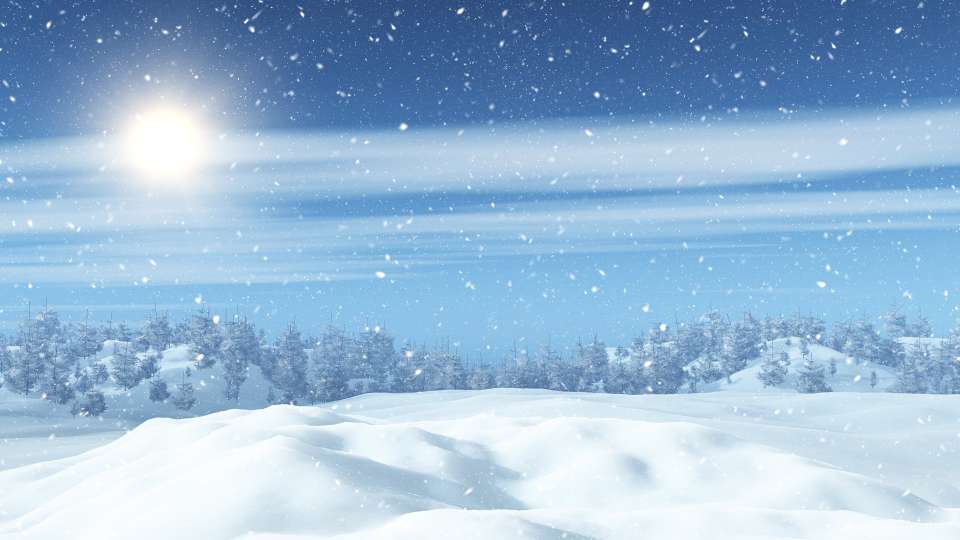
Snow is falling
Bright areas (for example, the sky) and dark parts (shadows) are common in scenes. As a result, the camera recognizes bright and dark areas and ensures accurate details. In most cases, it is effective. Our eyes perceive brightness, and our brain correctly interprets it. Even with the best evaluation metering, the exposure meter may fail to achieve the 18 percent grey level that the camera expects in some instances. In more difficult circumstances, photos might be overexposed or underexposed. As a result, in difficult cases, exposure compensation must be established.
Exposure compensation is a quick and simple method of adjusting exposure value (EV). The exposure value for a shot is a combination of the shutter speed, lens aperture setting, and ISO settings.
A value can be seen in the camera as given below.

Normally, the camera will attempt to set the exposure value to “0” when capturing the image. However, in difficult conditions such as the one described above, the exposure compensation is changed from “0” to “1”. That is, if a picture appears darker, a positive value (+ EV) is dialed in, whereas a negative number (-EV) is dialed in.
A setting of EV + 1 permits more light into the camera during exposure, making the image look brighter. A setting of EV – 1 reduces the amount of light allowed into the camera during an exposure, resulting in a darker image.
Stop
The amount of light caught during a photograph is called as exposure, and it is influenced by three factors: shutter speed, aperture, and ISO. To keep the overall exposure or brightness of the acquired photograph, there must be some form of correlation between the three parameters, where one rise should equal one decrease. A number is used to measure all of these distinct units. A stop is a very handy technique to link three different parameters.
A stop is the quantity of light needed to double or halve the exposure. That is, twice or half the amount of light permitted when photographing. For example, if a photographer learns that he will raise his exposure by one stop, he will capture twice as much light as in the prior snap.
Zone system
Ansel Adams and Fred Archer created the zone system as a photographic method in the 1930s. A scene is precisely divided into 10 tonal zones using the zone technique, ranging from 0 to X (10). Pure black is 0, and pure white is X. On the scale, a number is given to each tonal zone, and each zone varies by one stop. Whether or not a zone equates to an exposure value or stop of EV is a topic of intense discussion. However, it is simpler to count as a stop.
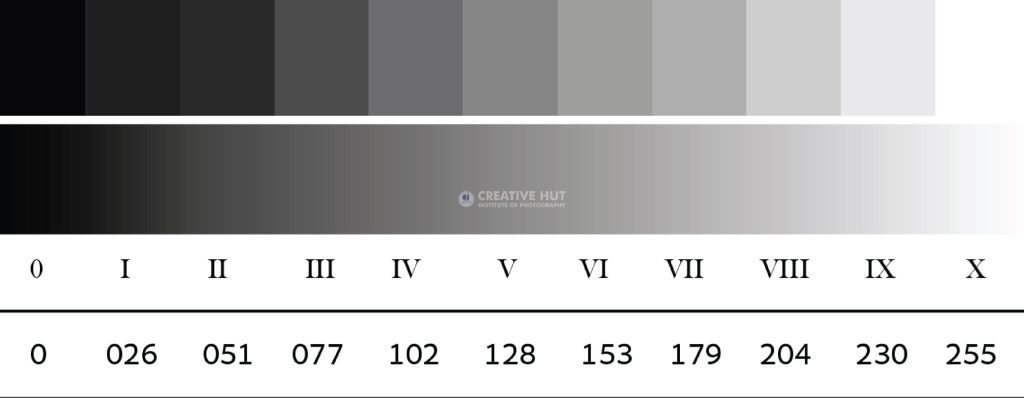
There is a single stop between the two zones. Roman numerals are used to designate the zones. Zone V (Zone 5) is the midzone (18% grey). Zones III through VII (zones 3 through 7) are the only ones that matter for digital shooters.
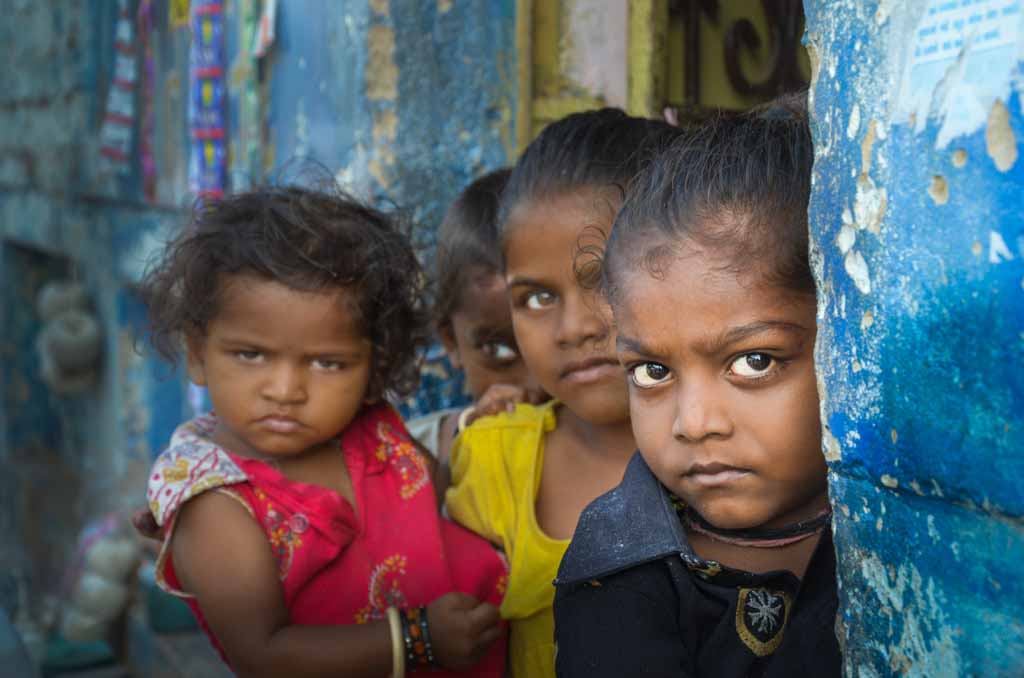
The face is the mirror of the heart, while deep-set eyes make those expressions stronger. Photography – Abin Alex | Camera: Canon EOS 5D Mark IV, Focal Length: 400mm, Aperture: f/5.6, Shutter Speed: 1/640 sec., ISO: 800
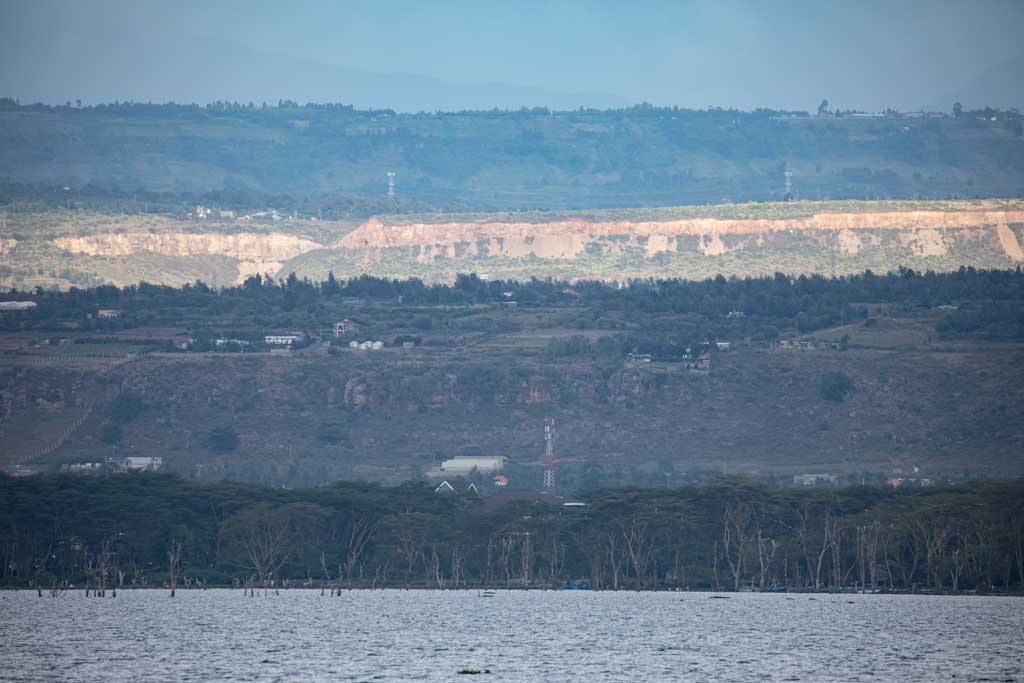
Understanding the zone system and applying it to photography adds value to an image. Photography – Abin Alex | Camera: Canon EOS 5D Mark IV, Focal Length: 400mm, Aperture: f/5.6, Shutter Speed: 1/640 sec., ISO: 800
Zone III is where a scene is the darkest, while zone VII is where it is the brightest. Anything that is darker than Zone III will seem as pure black with no details, while anything that is lighter than Zone VII will appear as overexposed pure white with no details.
Zone 0 : Pure black, no detail.
Zone I : Near pure black with slight tonality but no detail.
Zone II : This is the first zone where details begin to show; The dark part of the image that captures the details.
Zone III : Medium dark objects.
Zone IV : Landscape shadows, dark vegetation.
Zone V : Middle-gray, which is what our light meter is set to
Zone VI : Average whitecurrant skin tone.
Zone VII : Very pale white skin; Snow shadows.
Zone VIII: White undertone with texture.
Zone IX : Light white tone without texture, (e.g. shiny snow).
Zone X : Pure white with no detail. These can be light sources or reflections of light sources.
Dynamic range
The ratio of the brightest brightness value to the darkest brightness value is referred to as an image’s dynamic range, or contrast. To put it another way, a scene has a high dynamic range if it simultaneously has very bright and very dark sections. It has to do with the camera’s capacity to record extremely dark scenes with brilliant lighting. The ratio of the noise level to the full-well capacity is known as the dynamic range. The ratio of a scene’s bright to dark sections is known as the dynamic range. Based on how its contents are measured, the size of each photosite influences the dynamic range of a digital camera.
Dynamic range is the range at which a camera can capture both the brightest and darkest portions of an image without losing clarity in the image in photography and video.
Actually, a camera cannot capture the whole dynamic range that the human eye can. Our eyes can see in a range of around 24 f-stops if we take into account the circumstances under which our pupil opens and closes for various levels of light. Brightness and contrast alter the sensitivity and dynamic range of the human eye. Typically, people count between 10 and 14 f-stops. If your camera has one stop, for instance, you can photograph a scene in which the brightest area is twice as bright as the darkest. A scene’s brightest section can be photographed four times brighter than its darkest with a camera sensor having a dynamic range of two stops.
Overstepping these boundaries will produce images with dark shadows or blown-out highlights. This means that the area between black and white is the amount of light tint in an image compared to the grey scale. A different shade of grey is present in the space between. It also specifies the number of stops that make up the total range because it is measured in stops.
The term “dynamic range” describes the proportion between the highest brightness value that an image may record and the lowest brightness value. Contrast, however, helps photographers draw attention to their subject. shades ranging from white to grey to black.
Contrast
Contrast can be classified into two categories
Tonal contrast
Color contrast
Tonal contrasts can be rotated forward. High Contrast, Normal Contrast, Low Contrast
White and black tones dominate an image with significant contrast. There are also not many or any medium greys. Less white, more black, and more mid-gray elements can be found in images with normal contrast.
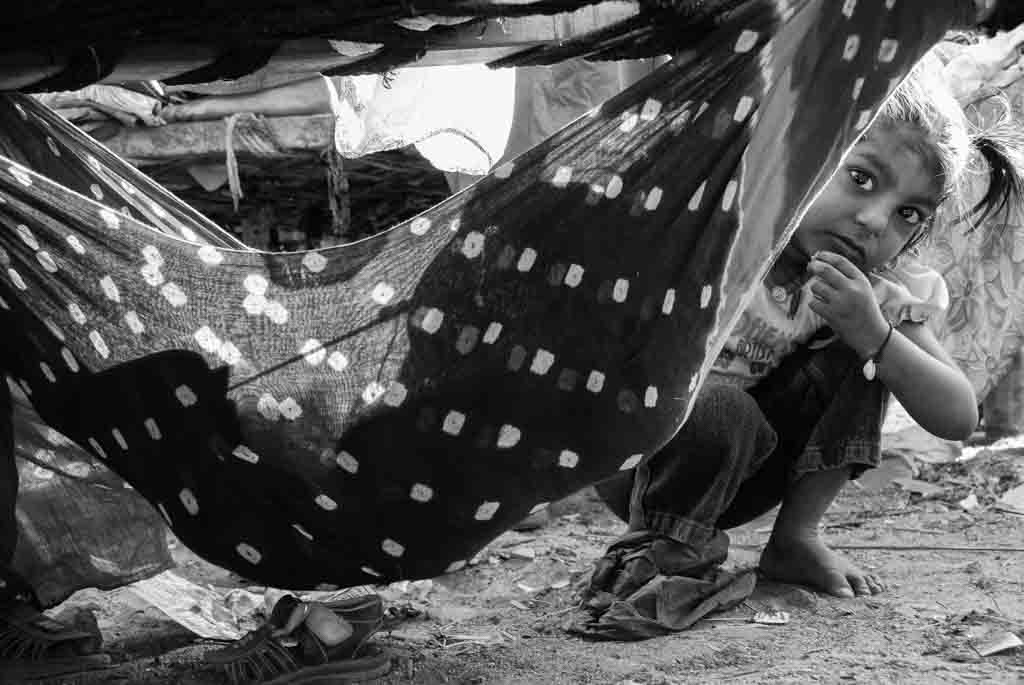
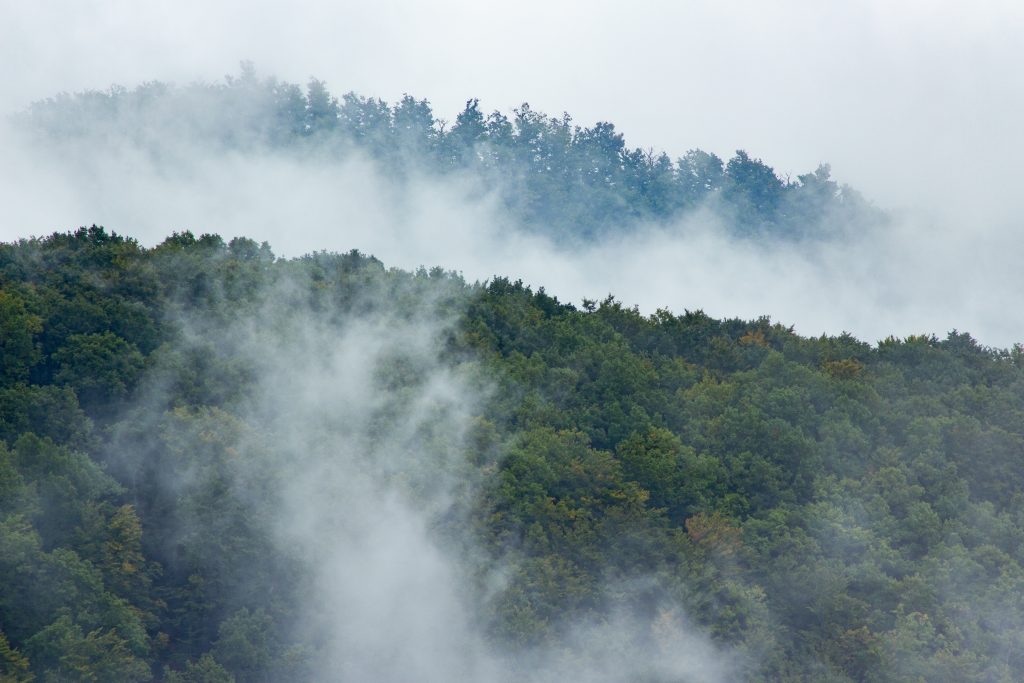
Contrast is an important factor in drawing a viewer’s attention to a subject. Photography – Abin Alex | Nikon D3000 Focal length:42mm,Aperture:f/7.1,Shutter speed:1/40 sec.,ISO:200
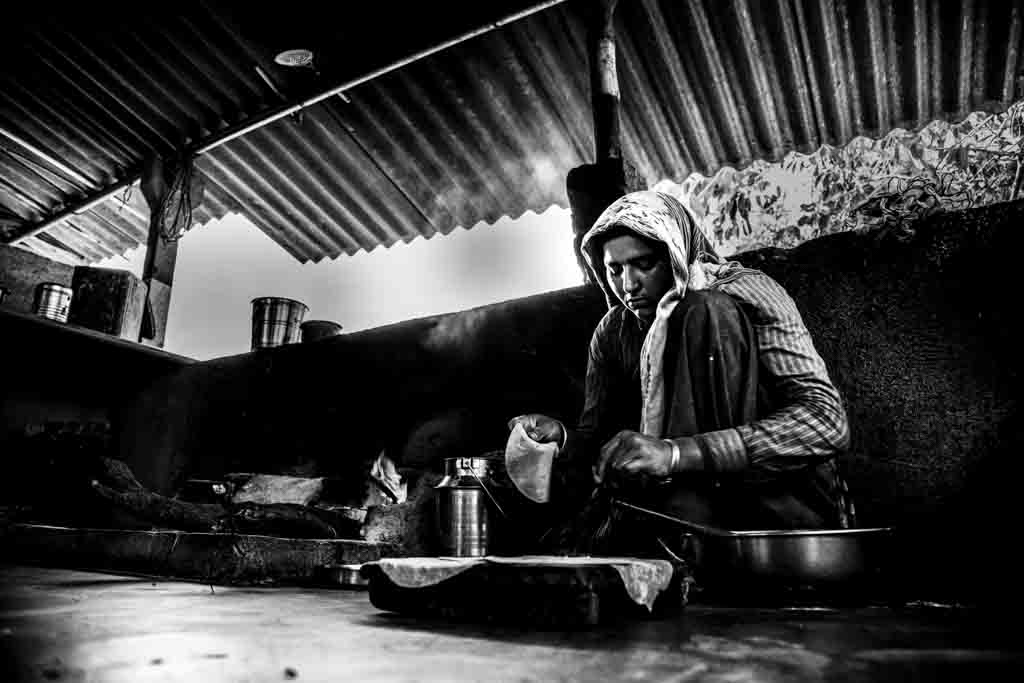

Images with low contrast don’t have any highlights or shadows. There are similarities among all tones.
The disparity in colors in an image is referred to as color contrast. There is a strong contrast, or high color contrast, in a picture when components of oppositely characterized colors, such blue and yellow, are present. Warm colors are always the opposite of cool colors. Dark colors contrast sharply with light colors. High color contrast, moderate color contrast, and low color contrast are distinct from one another, just as tonal contrast.
Histogram
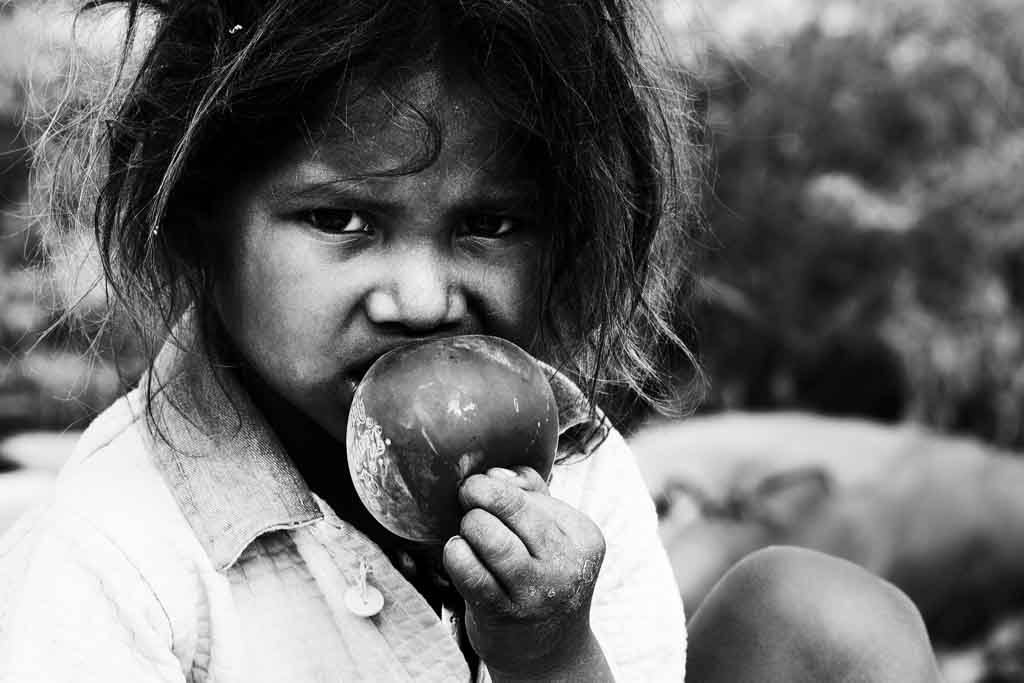
Capturing subjects in their original expression is always a challenge. Photography – Abin Alex | Camera: Canon EOS 1100D, Focal length: 50mm, Aperture: f/4.5, Shutter speed: 1/400 sec., ISO: 100
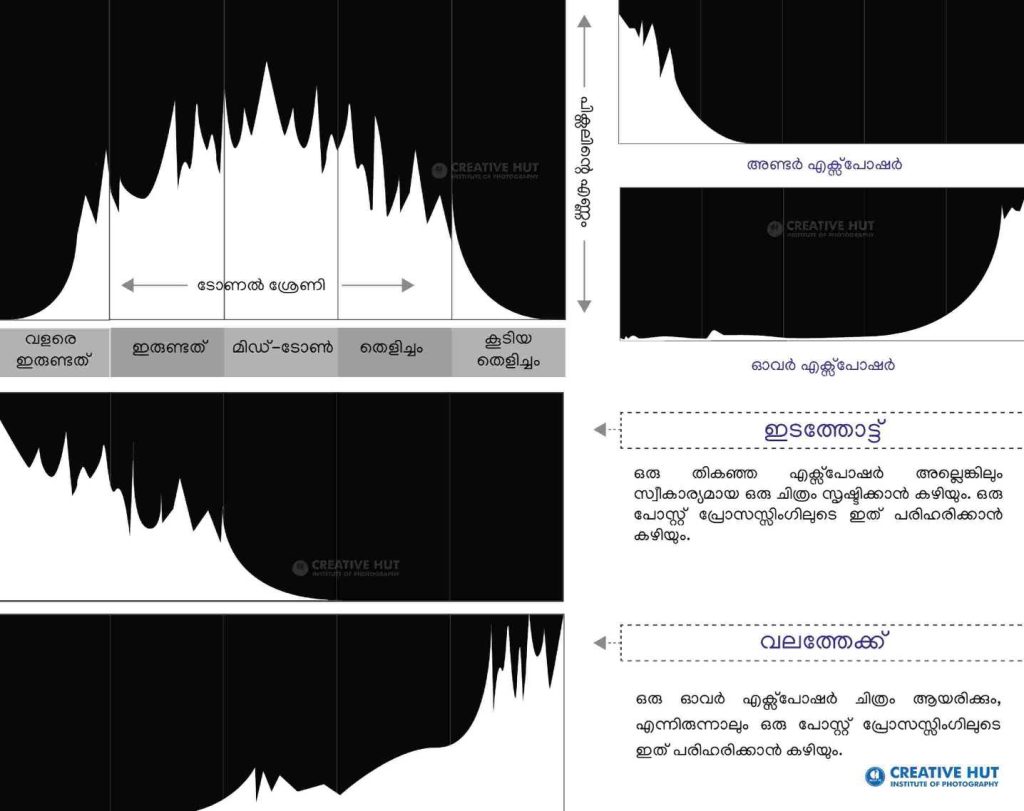
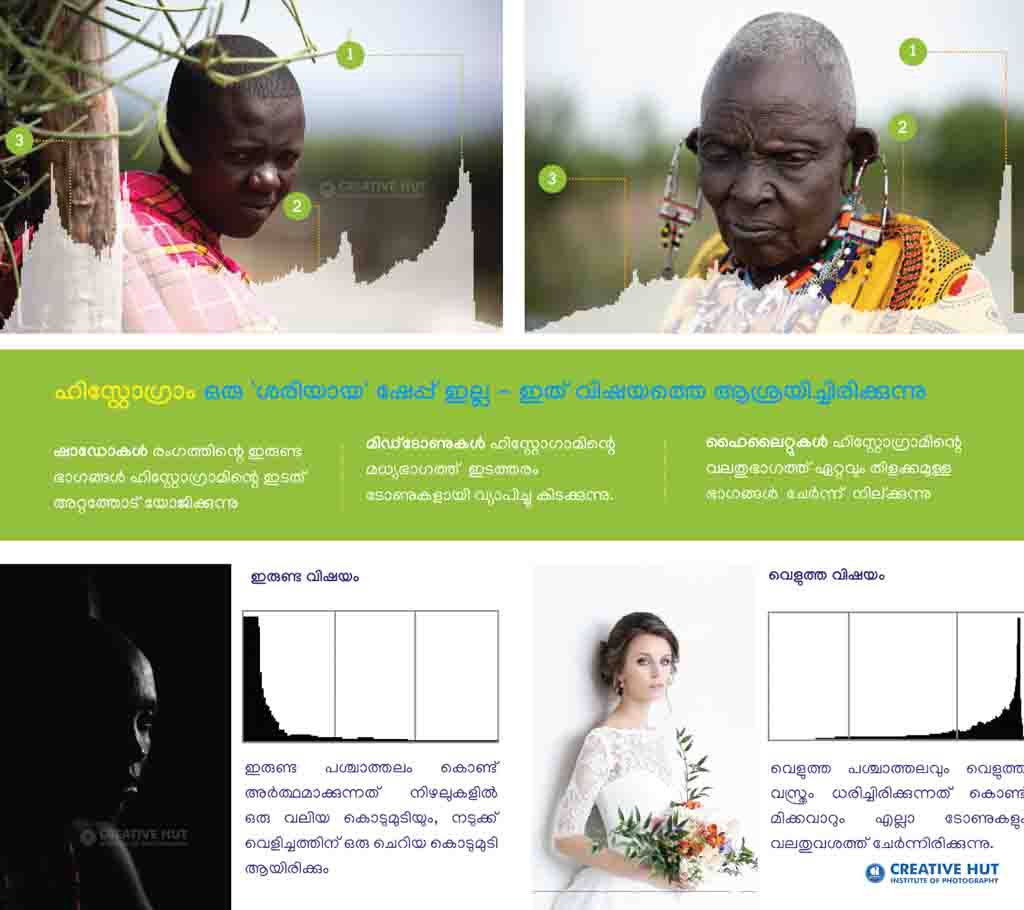
An easy way to see exposure data or exposure level on a camera or computer screen is using a histogram. Histograms display a graphic depiction of a photograph’s tonal values. Simply put, it displays the brightness of a certain area of the image, ranging from black (0% brightness) to white (100% brightness).
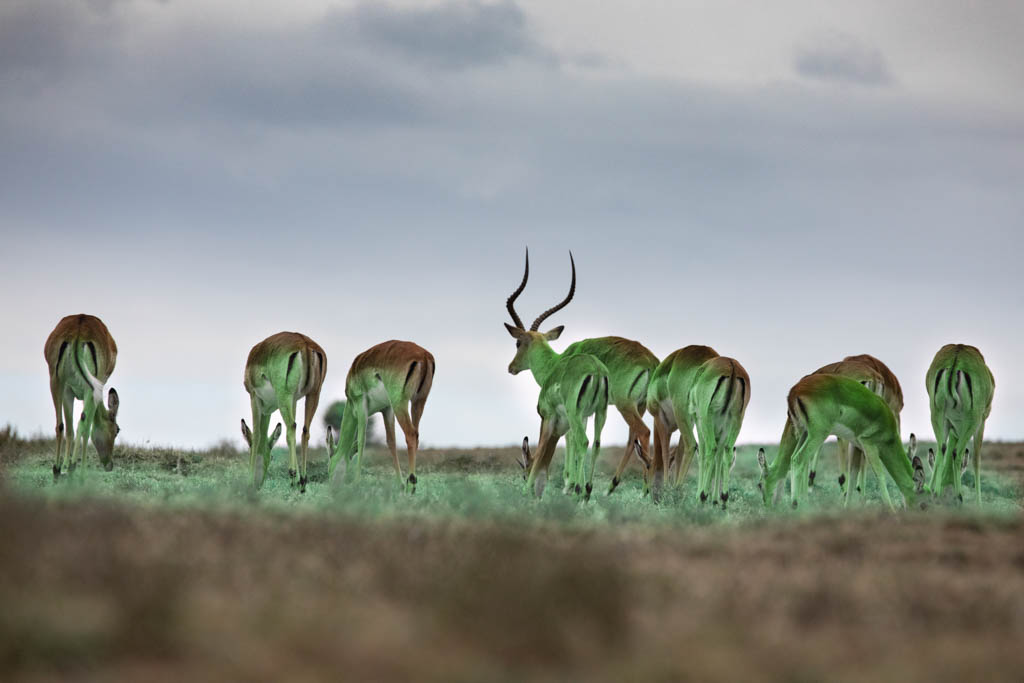
Differences in tonal values in a photograph add to the appeal of an image. Photography – Abin Alex | Camera: Canon EOS 5D Mark IV, Focal Length: 400mm, Aperture: f/9, Shutter Speed: 1/800 sec., ISO: 800
A typical histogram separates a typical color image into 256 brightness levels, ranging from 0 to 255, after converting it to grayscale. Pure white is 255 and pure black is zero. Every other shadow is depicted as a different shade of grey.
The histogram’s specific region touches both sides. This indicates that while there are entirely white or completely black tones, the histogram chart is slanted to the left or right. It’s known as clipping. If the graph touches the histogram’s right side, highlight clipping happens.Highlight clipped regions will be entirely white and devoid of any details. If the graph touches the histogram’s left side, shadow clipping happens. Areas that are entirely black and lack detail are known as shadow cuttings.
High contrast is indicated by a spike at the left or right end of the histogram chart. That denotes either inadequate or excessive exposure.Red, green, and blue (RGB) fundamental colours are combined to create the colour of each pixel in a picture. For an 8-bit digital image, each of these colours can have a brightness value that ranges from 0 to 255. An RGB histogram is created by the computer iterating through each of these RGB brightness values and counting how many instances there are at each level from 0 to 255.
The camera contains a highlight alert feature that, when used, causes the highlighted region to “blink.” Before snapping a picture, certain cameras allow you to activate the highlight function. However, you can manually set a limit for how often the highlights flash on some cameras.So it’s a good idea to make sure it’s configured properly. Histograms can be useful in interpreting an image, although their use is not always accurate. The histograms’ pixel count and tonal value differ amongst subjects.
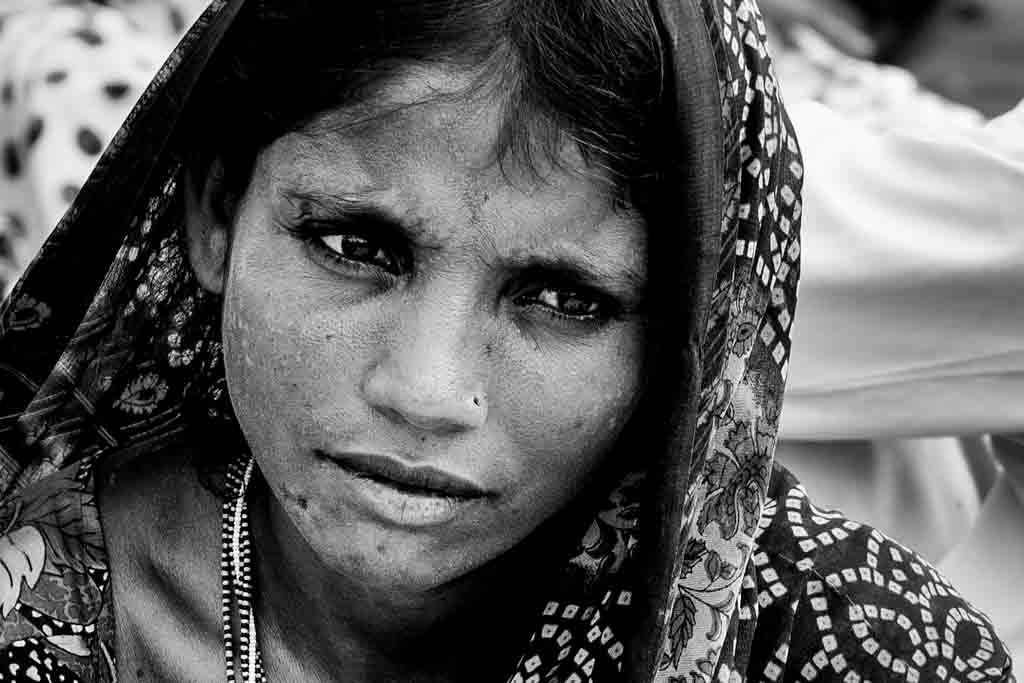
Differences in tonal values in a photograph add to the appeal of an image. Photography – Abin Alex | Camera: Canon EOS 1100D, Focal length: 50mm, Aperture: f/4.5, Shutter speed: 1/250 sec., ISO: 100


